
Steel Building Quality Inspection Before Shipment: QC Checkpoints Buyers Should Know


Pre-shipment quality inspection is the last place where a steel building buyer can catch a problem while the factory still has the steel, the welders, and the paint booth. Once the container leaves, defects turn into claims, delays, and site rework. A practical inspection covers five checkpoints: material certificates, dimensional tolerance, welding quality, surface preparation and coating, and packing and hardware — and this guide tells you exactly what to look for at each one.

Why Pre-Shipment Inspection Pays for Itself
Inspection is not about distrust; it is about verification. The factory’s own QC records are a first signal, but they are produced by the party with the commercial interest. An independent inspection — or a buyer’s representative with a checklist — gives you evidence that the members leaving the workshop match the approved shop drawings. On a project worth tens of thousands of dollars, a single day of inspection is a rounding error; a single undetected fabrication error can cost weeks.
Checkpoint 1: Material Certificates Match the Order
Start at the paper trail. Ask to see the mill certificates for the steel plates and sections used in your project, and check three things: the steel grade matches your contract (for example Q235B, Q355B, or S355), the dimensions and thicknesses match the design, and the certificate’s heat numbers trace back to the material actually cut for your members. A certificate without heat number traceability is paperwork, not evidence.
If you are not sure which grade you ordered or what the numbers mean, our steel grades guide explains the practical differences. This is also the moment to collect the documents you will need for import approval, because re-issuing certificates after shipment is slow.
Checkpoint 2: Dimensional Tolerance
Measure, don’t eyeball. Take sample measurements against the shop drawings: overall length of columns and rafters, flange width and web height of built-up sections, hole positions on end plates, and the squareness of frames that will be bolted on site. Tolerances that look small on paper — a few millimeters on a hole pattern — become impossible fits on the erection day.
Focus on the connections: bolt hole patterns on end plates and base plates, and the spacing of anchor bolt holes. Connection errors are the most expensive to fix in the field because they involve the whole frame geometry.
Checkpoint 3: Welding Quality
Welds carry the load in built-up sections and connections, so their quality deserves a dedicated look. Visually check weld size, continuity, and the absence of cracks, undercut, and porosity. Confirm that the welders are qualified for the procedures used, and ask for the welding procedure specifications (WPS) and procedure qualification records (PQR) for the joints in your building. For critical full-penetration welds, a third-party ultrasonic or magnetic particle test may be specified — agree in the contract whether that is included or available at your cost.
Our bolted vs welded connections guide is a useful companion here because it shows where each connection type is expected and why the weld quality bar differs.
Checkpoint 4: Surface Preparation and Coating
Coating failures are the most common long-term complaint on exported steel buildings, and most of them start before painting. Check that members have been shot blasted or otherwise prepared to the specified surface cleanliness, that the primer coat thickness is within spec (a coating thickness gauge is a cheap tool to carry), and that edges, corners, and cut holes are covered — these are the first places rust starts.
Note the environment your building will face. Coastal or high-humidity regions may require a higher coating specification than the factory’s standard, and it must be applied, not just quoted. If your supplier’s standard coating is the same for every destination, ask why.
Checkpoint 5: Hardware, Marking and Packing
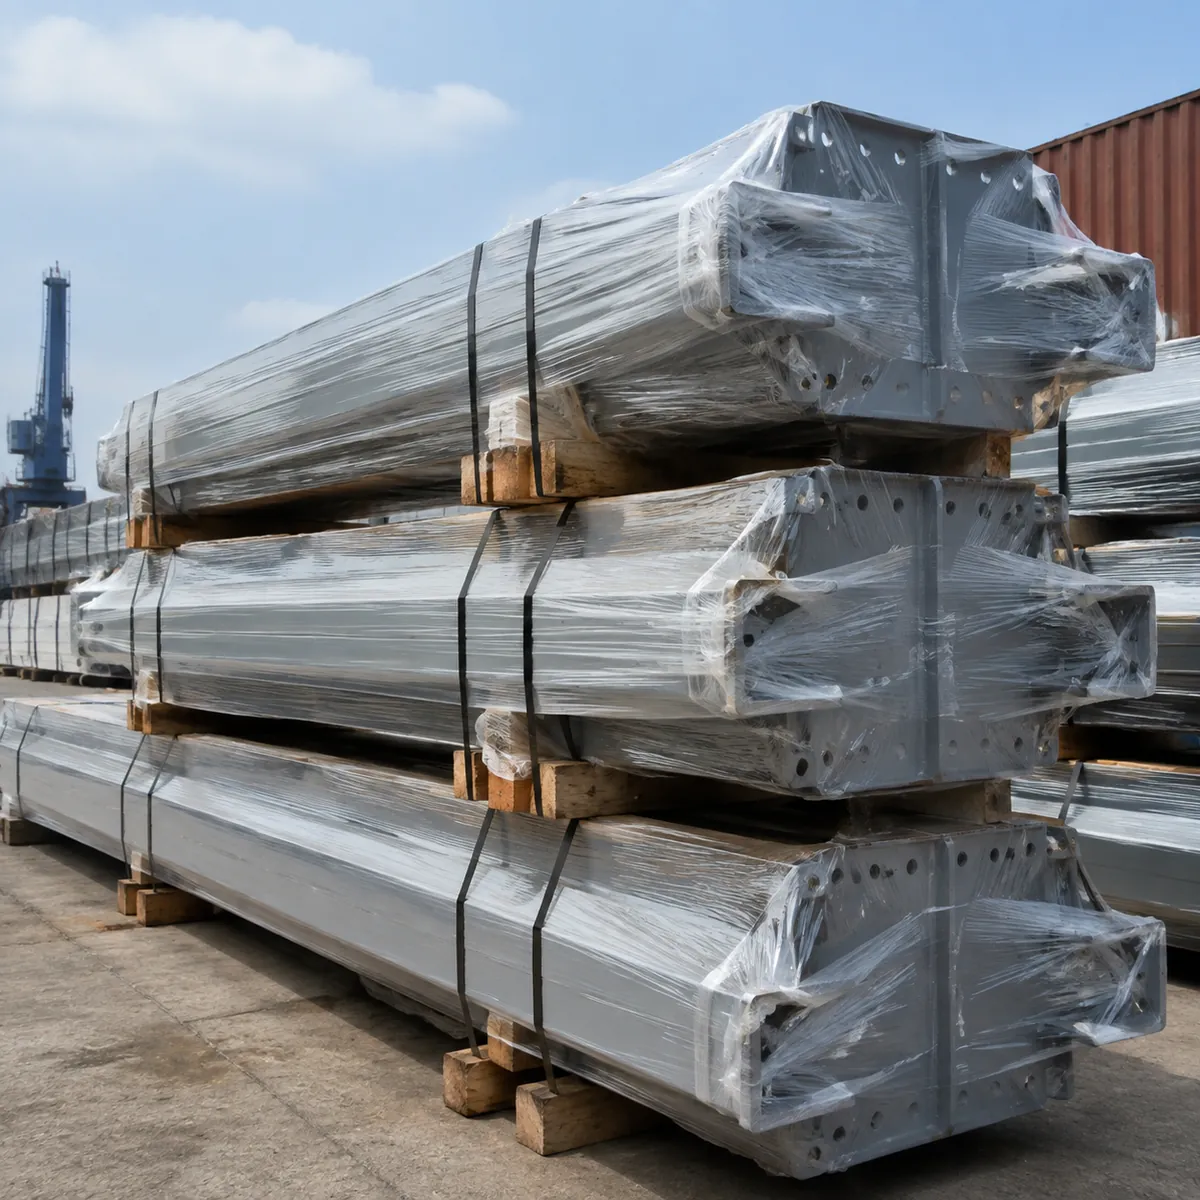
The last checkpoints are the ones that wreck the schedule if missed: the bolt kits, anchor bolts, and accessories must be complete and match the erection drawings; members must be marked so the site crew can find them; and the packing must protect the coating during sea freight. Check that bolts are grouped and labeled by connection type, that small parts are not loose in the container, and that members are blocked, strapped, and protected at contact points.
Compare the packing list against the container loading plan. A steel building that arrives with 99% of the members but a missing end plate set is a project that cannot start.
Inspection Checklist at a Glance
| Checkpoint | What to Verify | Common Finding |
|---|---|---|
| Material certificates | Grade, thickness, heat number traceability | Certificates for wrong grade |
| Dimensions | Lengths, hole patterns, squareness vs drawings | Hole misalignment |
| Welding | Weld size, continuity, WPS/PQR, NDT results | Undercut, undersized fillet |
| Coating | Surface prep, DFT, edge coverage | Thin edges, skipped prep |
| Packing | Bolt kits, marking, blocking, strapping | Missing small parts |
Take photos at every checkpoint and attach them to the inspection report. Photos of the packed container are the ones that matter most in a dispute.
What to Do with Inspection Findings
Classify findings into three buckets: cosmetic issues to note and accept, deviations to fix before shipment, and critical defects that change the design intent. For deviations, agree in writing on the correction and the re-inspection date. For critical defects, decide whether to reject the members or accept them with an engineering review and a price adjustment — never accept a critical defect informally.
Once the members pass, keep the inspection report with your project file. It is also the document your site engineer will want to see before erection starts, alongside the erection and maintenance guidance in our maintenance checklist guide for the post-handover phase.
Related reading: a similar inspection checklist applies to container houses — pre-shipment inspection checklist for container houses.
FAQ
Who should do the pre-shipment inspection?
Either an independent third-party inspector or your own representative with a checklist. The factory’s own QC records are useful context but are not a substitute for independent verification, especially for the dimensions and packing that determine site fit.
What documents should the inspection produce?
A written report with photos per checkpoint, measurement records for sampled members, the mill certificates collected, and a statement of findings classified as acceptable, fix before shipment, or critical. Keep the report with the shipping documents.
Can I rely on the factory’s QC photos instead of visiting?
Photos help, but they are selective. A third-party inspection covers measurement and packing checks that photos cannot prove, and it gives you an independent record if a dispute arises.
What is the most common defect found in steel building shipments?
In practice, coating damage and missing or mislabeled small parts are the most frequent findings, followed by dimensional deviations at connection holes. These are exactly the items that cause site delays, so they get dedicated checkpoints.
When should inspection happen in the production schedule?
Before the final coating and packing, with enough lead time for corrections. If inspection is booked on the day the container is scheduled to load, the factory has no room to fix anything and the report becomes a formality.
Buy from a factory that welcomes pre-shipment inspection. We share our QC points, support third-party inspection, and photograph every packed member before the container closes. Send us your building brief and we will quote with the inspection plan included.